


Easy kids’ science experiments to try at home
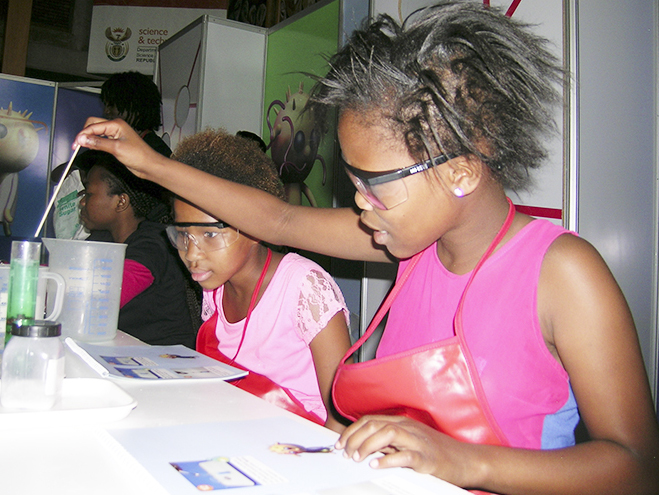
With SciFest coming up next week, Grocott’s Mail has put together this quick list of easy, kid-safe and home friendly science experiments to try with the whole family. Learning about science does not stop outside of the classroom: try these fun experiments that are sure to put a smile on your smart young scientist’s face.
Build your own mini-volcano right here in Grahamstown!
Ever wonder how a volcano works? This three-ingredient recipe will give kids all of the wonder, without the fire and brimstone.
What you will need:
- 4 tablespoons bicarbonate of soda
- 1/2 cup white vinegar
- Red or orange food colouring
- Large cup or bucket
- Newspapers or old sheet (this will get messy, make sure it’s nothing new!)
- A positive attitude
Instructions:
Find a space (preferably outside) and lay out your old newspaper or sheet, this will catch the spill of the ‘lava’. Place the cup or bucket in the middle of the protected area and add 4 tablespoons of bicarb to the bottom, add a few drops of food colouring to the mix. After adding the food colouring, slowly pour in 1/2 cup of vinegar and watch your mini-volcano erupt! This reaction is a result of an acid (vinegar) mixing with a base (bicarb). The base will seek to neutralise (or put out) the acid, causing a release of carbon dioxide. This similar reaction occurs when we experience indigestion after a large greasy, or spicy meal. After taking an antacid tablet or drinking milk, the acid is reduced in our stomachs, causing for a relief of symptoms.
Pro-tip: Add more vinegar for faster running lava
Pro-fun: Have the kids build a base for the volcano out of paper mache and washable paint!
Make your own butter!
You can save yourself a trip to the shop with this easy home trick. Perfect for toasted sandwiches, cooking or baking!
What you will need:
- Heavy whipping cream (room temperature)
- Airtight container (think of an old jam or pickle jar)
- Salt to taste
- All hands on deck!
Instructions:
Add the heavy whipping cream and a pinch of salt to the airtight container and seal tightly, make sure about half of the container is full. Now begins the fun part, start shaking the container as much as possible! Pass the container around to all members of the family for a turn at ‘churning the butter’. You will start to feel the cream thicken which means the butter is almost done! Keep shaking until the ‘sloshing’ sound begins to turn more solid. Open the container carefully and pour out the remaining liquid (buttermilk) to use in other recipes (try pancakes the next morning), what is left in the container is your freshly prepared butter. The shaking process separates the milk in the cream from the fat, the remaining fat is what creates butter.
Pro-tip: Have some freshly toasted bread nearby to try out your delicious experiment.
Get slimy!
Tired of spending money on new toys? Kids are sure to be entertained for hours with this ooey gooey slime!
What you will need:
- 2 bottles of washable school glue (clear is recommended but white is ok)
- 1 teaspoon bicarbonate of soda
- 2 to 3 tablespoons of liquid saline (contact lens) solution, this can be found at Wallace’s or Clicks
- OPTIONAL: A few drops of food colouring of choice
- OPTIONAL: 1/4 cup of glitter
Instructions:
In a mixing bowl combine glue and food colouring (and glitter if wanted). Add in the bicarb and mix until smooth. Slowly add in the saline solution one tablespoon at a time until mixture becomes stringy, then begin to knead the mixture by hand until a ball forms. If the slime is too slimy, add in a few more drops of saline solution until desired consistency is reached. Store in an airtight container after playtime!
Pro-fun: Glitter glue is an easy way to speed up the recipe!

